How to Piece Diamonds
- Krista Moser

- Oct 26, 2019
- 3 min read
Updated: Oct 29, 2019

Have you ever had trouble with this? Accurate piecing can be a real hassle, so I plan to do at least a few posts on different methods and tricks you can use when you get stuck. You will know all my secrets before we are through ;)
Diamonds are such a great shape for quilting. They are versatile and can make a blah pattern visually stunning by tricking the eye to follow the diagonal instead of the typical squares or rectangles. But then you have to piece them together (cue dramatic music) and nothing makes quilters retreat to a pile of squares faster than piecing frustrations! I tackled this problem head-on while developing my Argyle Lad quilt.

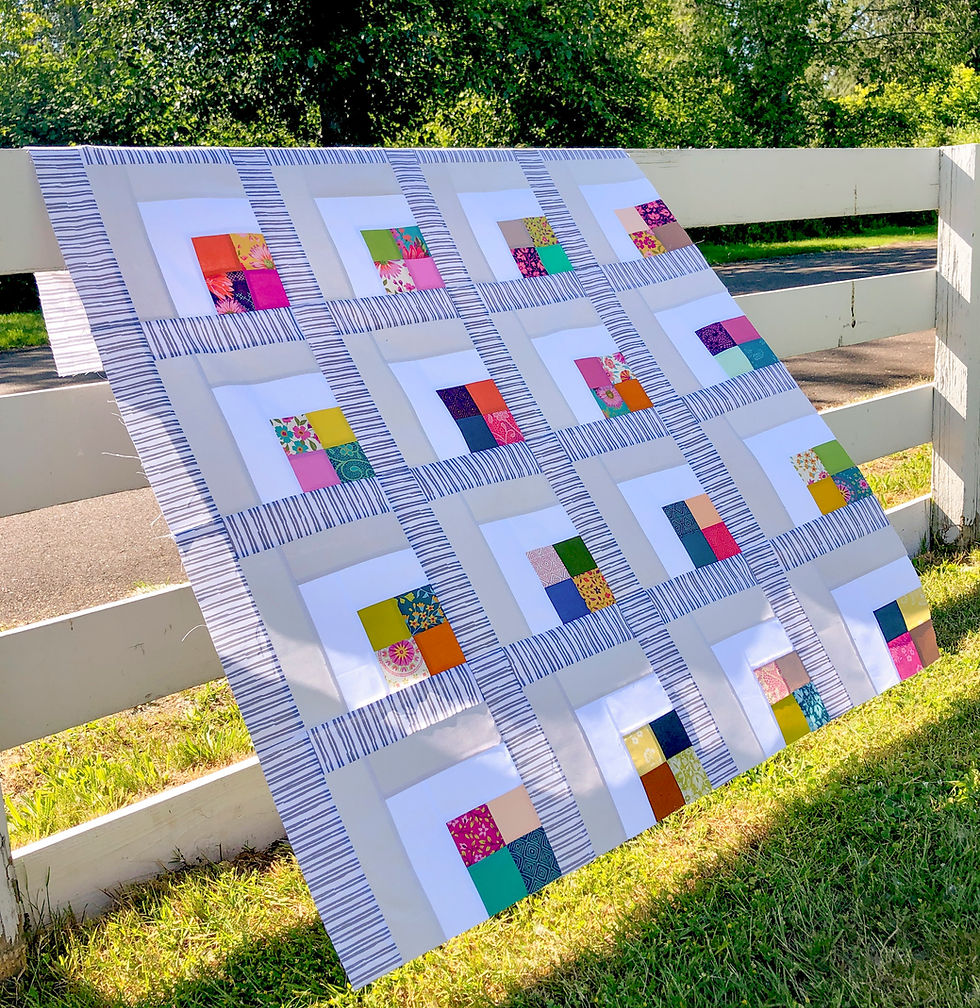
I made this little baby quilt, first, to see if I liked the way the blocks and color arrangement worked out, then I changed some things up to make the piecing process less frustrating and more accurate. I am super happy with the finished project!
There are so many cute examples of quilts using diamonds like these Modern Lone Stars.


Or these simple diamonds with sashings.


So, how do you get all those intersections to line up? When you have something that is pieced on an angle, as these are, you have to take into account that the seam allowance will shift the sashing or the seam by ½” (¼” from each piece). So if you’re not careful, you will end up with all your diamonds shifted away from each other, and those intersections will only draw attention to this even more.
So here is my secret!
I use ¼” quilters tape (it’s like masking tape for marking rulers and fabric, it doesn’t leave a residue). I wrap a piece over the end of my thumb, this will act as my quick guide to pin placement.

Now taking the diamond pieces and laying them right side together, I stagger the seam by about ¼” (as best as I can eyeball it). I use my taped thumb guide to measure from the cut edge down to the seam ¼”. This is where I put my pin in, right on the seam and ¼” from the cut edge.

Now, I poke the pin through the seam and line it up with the seam on the other piece. As long as the two cut edges line up and my pin goes through both seams, it should be a perfect match!

Note: If you are doing diamonds or angled seams with sashings involved, then you will continue the process like this.
Sew the sashing to one of the diamond blocks and press open. Draw a line with a disappearing fabric marker and ruler to carry on the “seam line” across the sashing strip. Take the next diamond block and line it up with the first block and sashing.

Fold it down over the sashing staggering the seam line and the marked line ¼”, like before. Using your taped thumb guide, measure from the cut edge to the seam and place your pin.

Now push the pin through the seam and into the marked line, making sure the cut edges match up. Sew this seam with a ¼” seam allowance and press open.

Voila, Perfect match!
Krista
Follow all my quilty adventures on Instagram, Facebook, and Pinterest. Visit my website for free tutorials and tips. If you like my patterns, you can buy them on Etsy, and here on the website.
You can find a printable PDF here: https://www.kristamoser.com/how-to-piece-diamonds
Scroll down to leave comments.