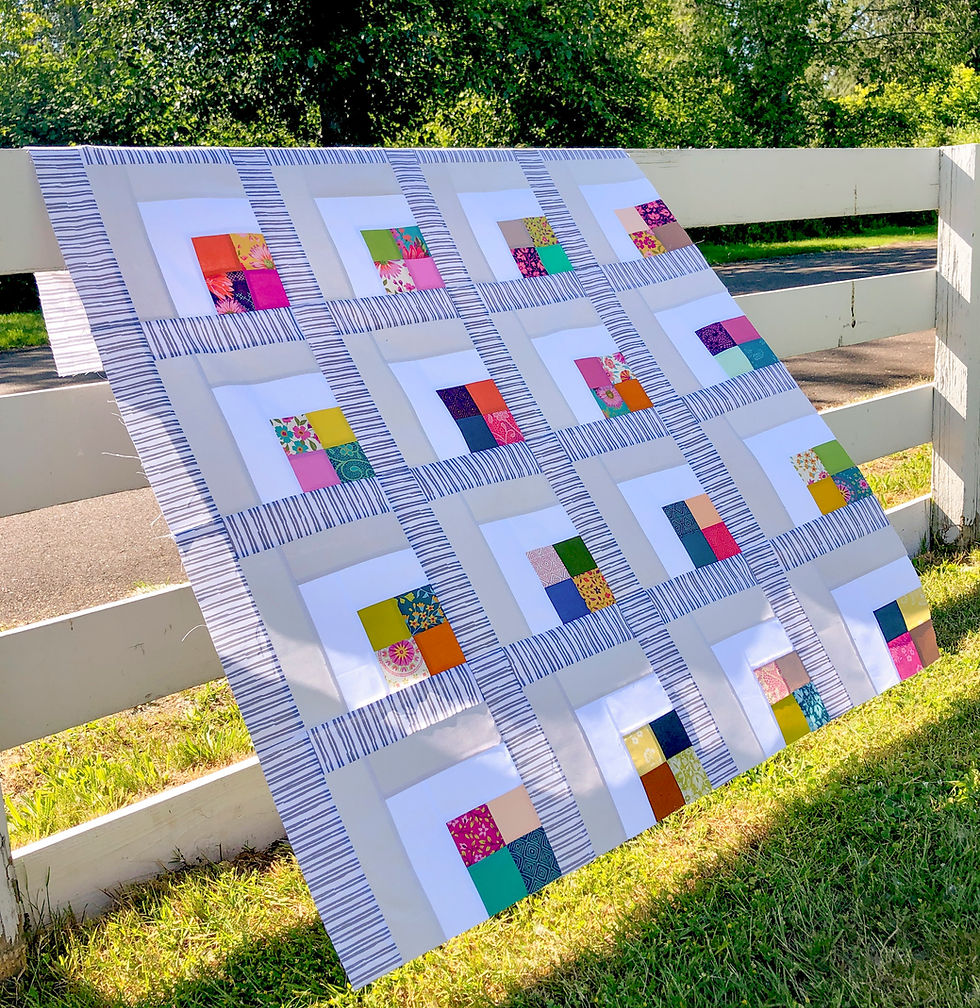
The Finished Quilt!
- Krista Moser

- Mar 23, 2025
- 3 min read

Last week, I showed my Scrappy “Lifesaver” Blocks made from my abundant scrap pile. This week, I'll show you what became of those blocks!

I ended up making 15 full blocks and five half-blocks to fill in the right and left edges. I still have scraps left over, but I put a dent in the pile 🙂.


To make the half-blocks, you’ll need four triangles, instead of six, for the center. You’ll also need four trapezoids, instead of six, for the outer edge. As you can see here, I used more scrap pieces for the trapezoids that weren’t big enough to cut full trapezoids. These blocks will be trimmed off flat after the quilt top is pieced. For the half blocks, you need half the hexagon plus the ¼” seam allowance, so cutting a whole block in half won't work.

Now for the background fill-in pieces. I used this black and white stripe (of course ;)
You’ll need three 5½” strips. Keep the strip folded in half to cut through both layers, and trim the selvage ends off flat.

Using the triangle lines on the ruler, align the 5½” line along the bottom edge and the left-dashed center line along the left flat end of the trip. Cut along the right edge of the ruler. This will give you two mirror-image triangle wedge cuts from the starting end of each strip.

Rotate the ruler 180 degrees and align the 5½” triangle line along the top edge of the strip and the flat tip of the ruler along the bottom edge. Cut along the right edge to get your first triangle cut. Rotate the ruler again to make the next cut. Continue down the strip, rotating the ruler every cut until you get to the folded end of the strip. Repeat the triangle wedge cut, from the other end of the strip, for a total of five sets of mirror-image wedge triangles.

From the three strips, you should get thirty 5½” triangles and five sets of wedge triangles.

Place the mirror-image wedge triangles around the full hexagon blocks at the end of each row.

Fill in the triangle spaces in the middle of the quilt with the 5½” triangles. I made sure all my stripes were going up and down, but a more random layout could be cute too!


Sew these blocks together into horizontal rows. First, sew each hexagon with one triangle on each side to create a diamond unit. The end hexagon gets the two wedge triangles and the half-hexagon gets only one triangle.

Sew those units into rows and then sew the rows to each other. I prefer to press my seams open during the final assembly, but you could press them to the side if you prefer.

Now that the top is pieced, I went back with my long straight ruler and trimmed the half blocks even with the rest of the quilt. This quilt ended up at 41” x 51”.

Here it is! All ready to be quilted. A super happy scrap quilt, perfect for Spring!
Happy Sunday everyone,
Krista
Follow all my quilty adventures on Instagram, Facebook, and Pinterest. Visit my YouTube channel for free tutorials and tips. If you like my patterns, you can buy them on Etsy, and here on the website. You can find fabric kits here.
Looking for stripes, you can find them in our new Stripe Store!