On Your Sleeve
- Krista Moser

- Aug 21, 2022
- 3 min read
Have you ever needed to add a hanging sleeve to your quilt but didn’t know how? Then, I think you’ll like today's lesson :) Annette asked me last week if I could do a blog about my process for adding a sleeve to a quilt, and I thought, there’s no time like the present! Thanks for the blog idea, Annette!
My favorite way is to add the sleeve before I add the binding. That way, I only have to hand sew one long edge instead of two. (If you’ve already sewn your binding to your quilt, you might want to use the method I did in this tutorial instead.)


Let’s get started! I cut a 4” wide strip of the backing fabric that is just about ½” wider than the quilt top on each side.


Press under the two short ends about ½” each, and then along one edge ½” as well.

Now, turn the end edges under another ½”. Press to make a double-fold seam that pinches the turned under long edge into it.
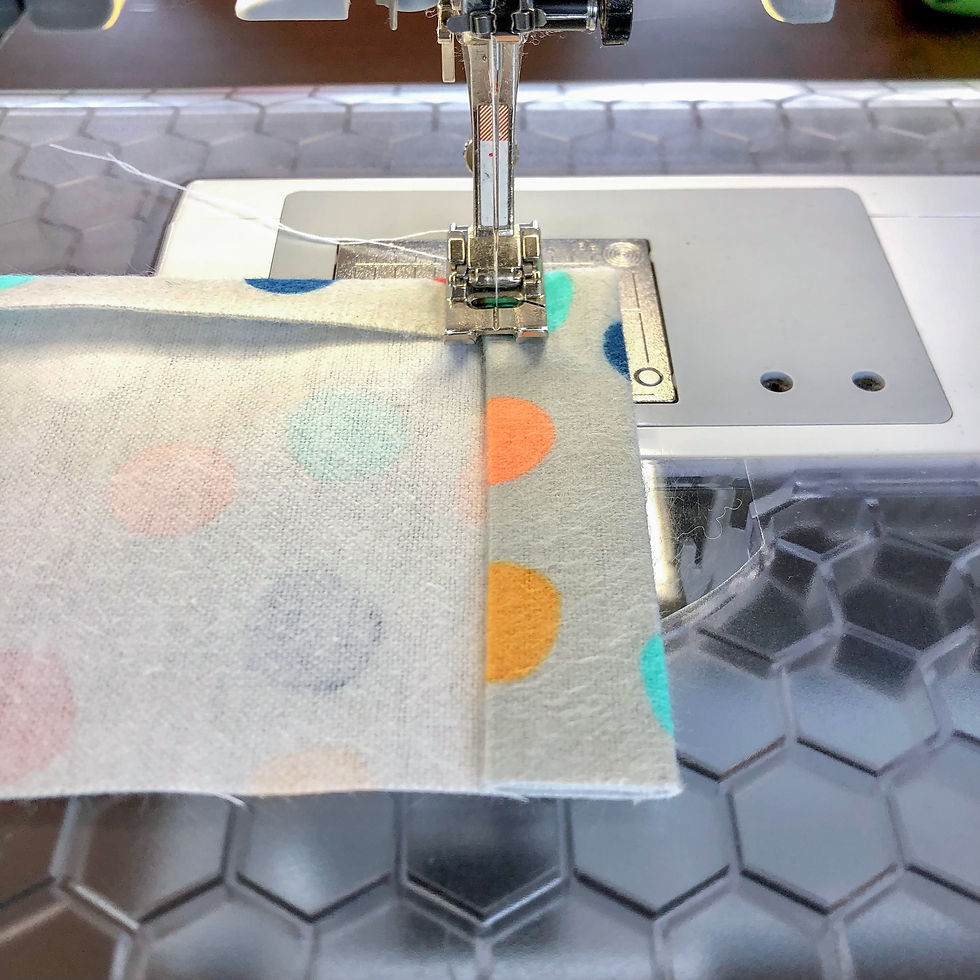
Stitch across the short ends and backstitch at the start and stop.

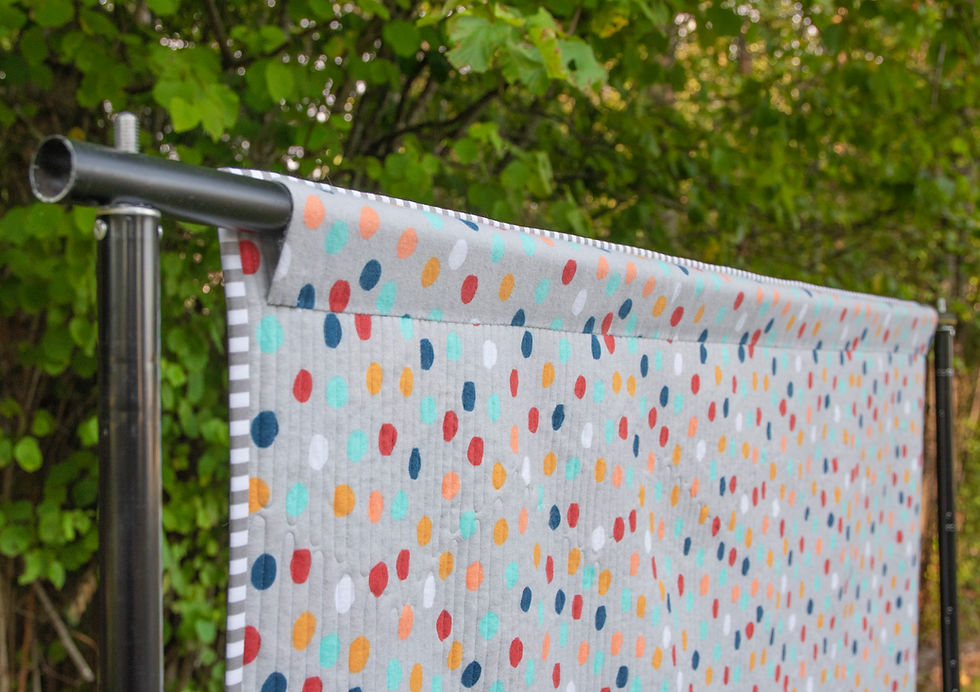
Pin the sleeve strip along the back top edge of the quilt, with the raw edge right to the edge of the quilt, and the folded under edge towards the center of the quilt. Notice the short ends are about ½” shy of each side of the quilt.

Stitch along the top edge of the quilt with a shallow ¼” or even a ⅛” seam allowance. Use a long basting stitch length (5.0 if you can do it). I stitch from the front so my feed dogs can do the easing up of any extra shifting that the sleeve strip might do. You could also use a walking foot for this step!

Now the sleeve is basted into place at the very edge of the quilt. You may pin down the folded under edge at this stage so it doesn’t flap around, but do not sew it down yet.

At this stage, I add my binding. I sew my binding to the back and then roll it to the front to top stitch it down. Here you can see I am sewing the binding onto the back along the top edge through the sleeve, and the quilt with a ¼” seam allowance and a regular stitch length.

Once the binding is sewn on, I turn it to the front. It looks like all is well with the sleeve and nothing got twisted or caught up when I sewed the first stage of the binding on.

Okay, now the topstitching part of the binding is done and you can see the sleeve flapping in the breeze :)

I press the sleeve straight up over the binding and out away from the quilt.


Then, I fold it back down onto the quilt, but this time I created a little fold along the binding edge so the sleeve is roomy and will pooch out for a hanging rod to fill without bulging out through the front of the quilt.
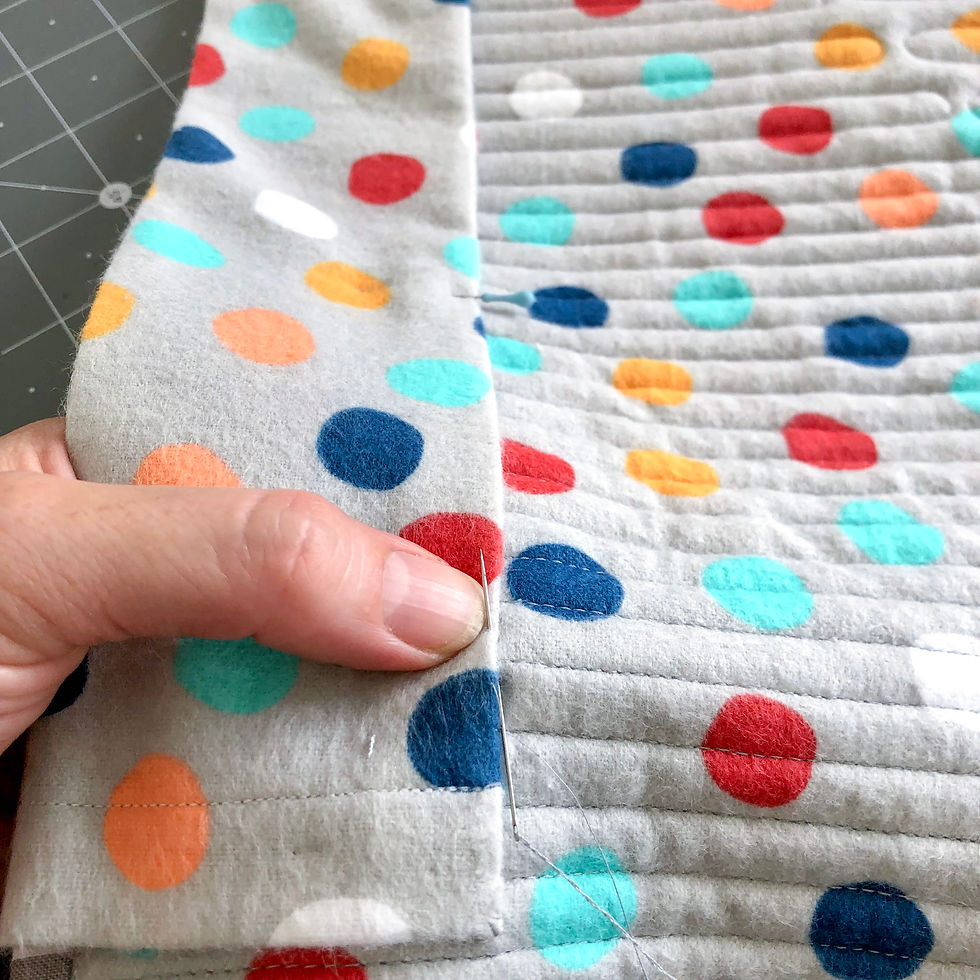
Pin the folded bottom edge into place and hand stitch through only the backing and batting layer with small-ish stitches. Make sure to really secure the starting point and ending point as they get the most wear and tear.

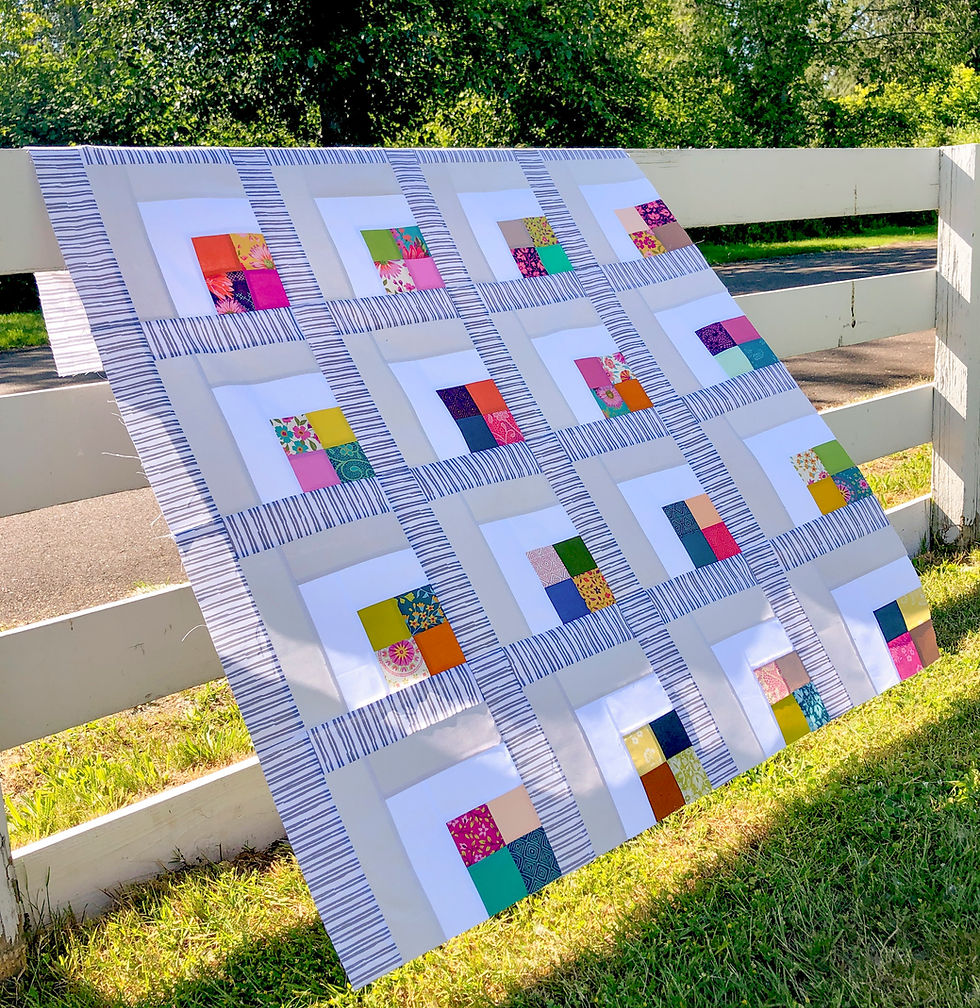
And look at it, hang! Such a fun quilt :)
If you need a really fun lap quilt, I just put together kits for this one! It’s my Honeycomb Hexagon quilt in the lap size (55” x 63½”). The kits are $59.99 and can be found here.
The Honeycomb Hexagon pattern is available here.
Happy Sunday everyone
Krista
Follow all my quilty adventures on Instagram, Facebook, and Pinterest. Visit my Youtube channel for free tutorials and tips. If you like my patterns, you can buy them on Etsy, and here on the website.