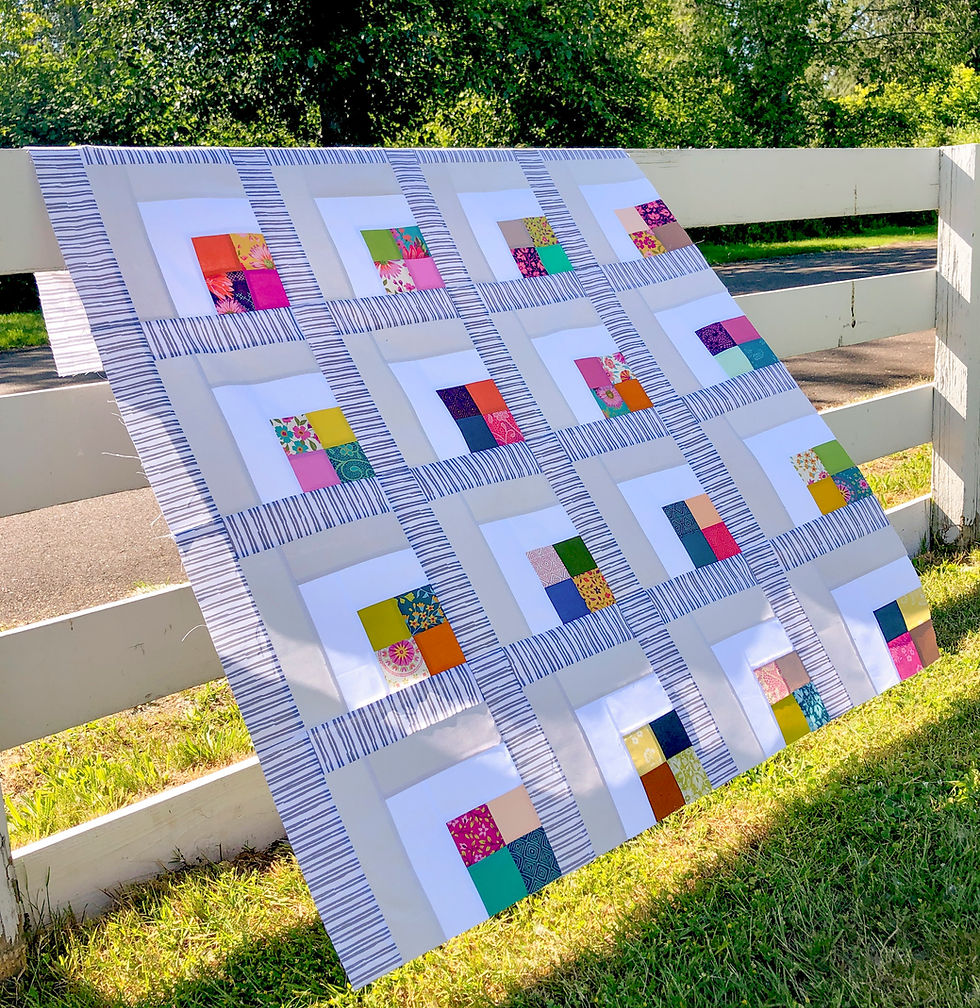
Layered Up!


Do you have a layer cake sitting around that you can’t quite figure out what to do with? Well, I have a few of them and was really stumped as to what to do. Layer cakes (typically a pack of (42) 10” squares) are a great way to get a variety of fabric from a new collection without buying yardage of each piece. But, then you have to find something that uses 10” squares!

This week, I think I figured out something clever :) I’m calling it Double Diamonds. You’ll need (25) 10” squares of different prints, plus a half yard each of two complementary backgrounds.
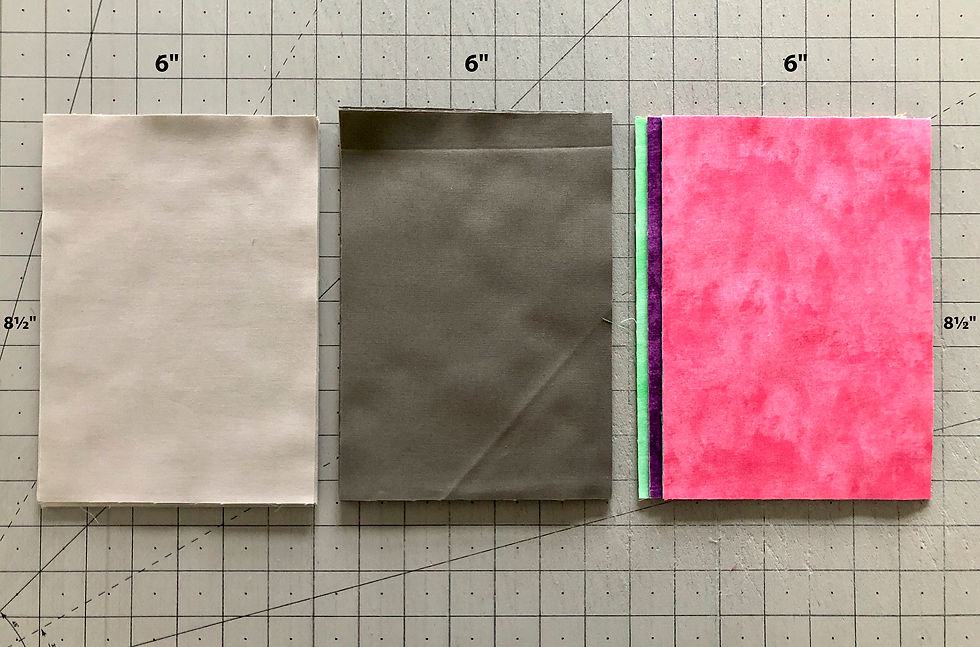
Cut the 10” squares down to 8½” x 6” rectangles. From each of the two backgrounds, cut two 8 ½” strips. Cross-cut those into (10) 8½” x 6” rectangles in each color. Save the rest for the side setting pieces later.

Sew the print rectangles together, as shown, and press those seams open.
Now, using the triangle lines on the Large Creative Grids Diamond Ruler, align the dashed 8½” line along the bottom of the strip and the solid center line up the first seam between two of the pieces. Cut on both sides of the ruler and trim the outer tips off flat.
Rotate the ruler 180 degrees to make the next cut, aligning the solid center line down the next seam and the dashed 8½” line across the top of the strip. Continue rotating the ruler and cutting split triangles along the entire strip. You should have 24 split triangles when done.

I laid out all of the split triangles in pairs to make diamonds, four in each row and three rows deep.

Sew all the complimentary background rectangles together, alternating the two colors.
Repeat the same split triangle cutting method, shown above. You should get (18) split triangles from the background strip set.

Lay out the background split triangles, as shown, filling in the blank areas between the print diamond blocks.

Cut the remainder of the background strips into (3) 8½” x 5⅝” rectangles from each color. Place these in pairs, with one of each shade, right sides together. Cut each pair in half diagonally, with the dashed 8½” triangle line along the bottom of the rectangle and the left dashed center line along the left edge. Trim the outer tips off flat.
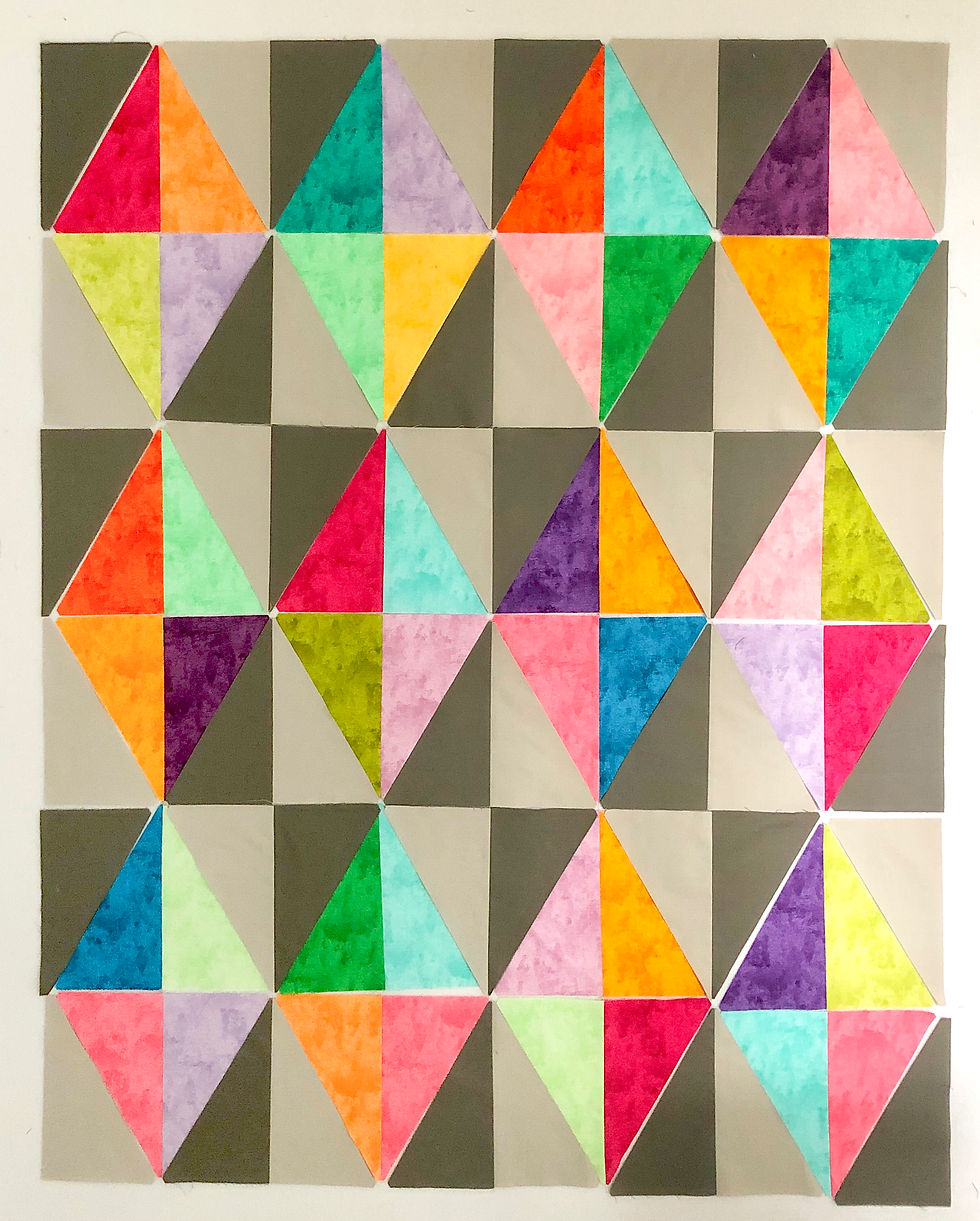
Fill in the right and left edges with these wedge triangle cuts.

Sew the triangle blocks into horizontal rows, as shown, with one wedge triangle on each end. Press all seams open.

Sew the rows together and press the long seams open. This little quilt measured 36” x 48”, perfect for a baby quilt! What a fun and fast project! And, I used up most of a layer cake, too!
Happy Sunday, everyone,
Krista
Follow all my quilty adventures on Instagram, Facebook, and Pinterest. Visit my YouTube channel for free tutorials and tips. If you like my patterns, you can buy them on Etsy and here on the website.