How to do Zippers
- Krista Moser

- May 23, 2021
- 3 min read

A couple of weeks ago, I showed you guys my quilt-as-you-go makeup bag and a few people asked about my zipper method. What a great blog idea, thank you!

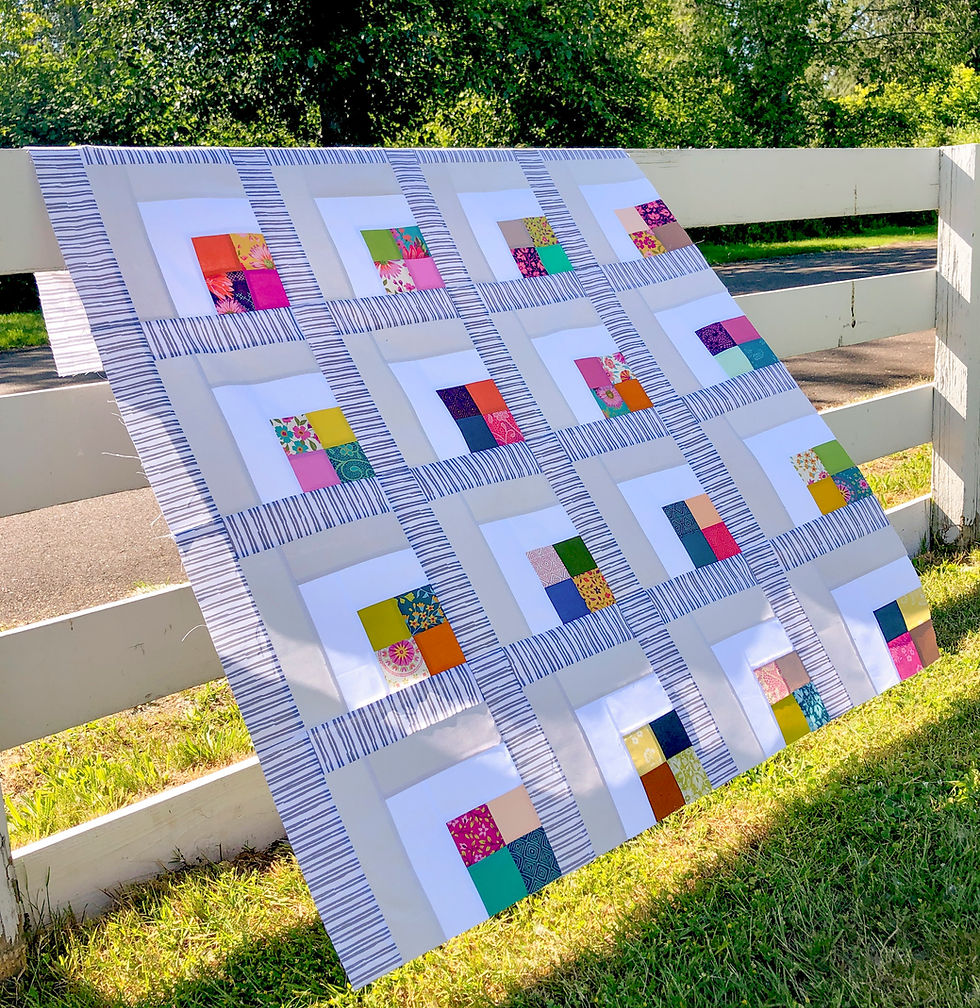
I use the same method for putting zippers in throw pillows as I do in bags. For this demo, I'm making a throw pillow from the ice cream cone block in my Two Scoops pattern. First I pieced and quilted, with ¼” lines, a 16” square front and back panel for my pillow.

I have a stash of 18” zippers, but a 16” zipper would work fine here. The important thing is to get a polyester zipper… you do not want to deal with metal zipper teeth, especially if you have to shorten the zipper.


I laid the zipper along the bottom edge of my pillow front, and cut it just shy of each end by about ⅜”

Take a couple pieces of matching fabric, 1½” x 2½”, and press the edges in towards the middle with a ¼” - ⅜” hem. It should look something like bias tape.


Take the closed cut end of the zipper, and wrap the “bias tape” over the end. Stitch into place close to the inside edge. It will have tabs sticking out on each side. These can be trimmed off now or later, it’s up to you.


Take the other end of the zipper-this should be the open end where the zipper pull is. Squash the two sides of the zipper close together, and hold them in place while you wrap the end with the second piece of “bias tape” and stitch it down. I used a stiletto tool to help me keep things where they should be while I sew.

Place the zipper right side down along the bottom edge of the pillow front. Center the zipper so it is about ¼” inside each end.


I used Wonder Clips, instead of pins, to hold the zipper several places along the edge. Start sewing off the end of the zipper and backstitch. Sew with a ¼” seam allowance from the edge or about the middle of the zipper tape.


When you get up close to the zipper pull, drop your needle and raise your pressure foot. Slide the zipper pull up, scooting it under the raised foot and closing the zipper behind the foot. The needle in the down position will keep everything in place while you move the zipper pull.

Stitch all the way off the other end of the zipper and backstitch.


Repeat this process, sewing the zipper to the back panel by clipping it into place. Be sure to match up the edges of the two pillow sides with their ¼” offset.


Stitch down the middle of the zipper tape and drop the needle. Raise the foot to scoot the zipper pull past the foot, this time opening the zipper in the process.

Once the zipper is stitched to both panels, you can separate the panels to see how it looks. You should have a ¼” gap at each end, as shown here.

Place the two panels right sides together. Squish the ends, where the gap is, to flatten it before pinning and sewing all the way around the pillow.

I set my needle position all the way to the left. This way, I can stitch down beside the bulk at each end of the zipper instead of up and over it. Be sure to open the zipper, about half way before sewing the other three sides, or you’ll have a hard time getting it opened from the wrong side.
Here it is once I turned it right side out! Pretty clean huh?

This is a good way to put a zipper in a pillow, if you want it to be reversible. The zipper along the bottom keeps it out of view no matter what side is facing out.


Like I said, this method will work when adding a zipper to a bag, too. Next week, I will show you how to make a simple box bottom bag :)
Happy Sunday everyone,
Krista