

The Box Bottom Bag!
- Krista Moser

- Oct 29, 2023
- 2 min read
I bet you can’t make just one ;

I've made so many little box-bottom bags for all sorts of people and projects (they make great bridesmaids' gifts, or you can give them to all your quilt retreat buddies). I found a use for more scraps and orphan blocks! Haha, they never end!

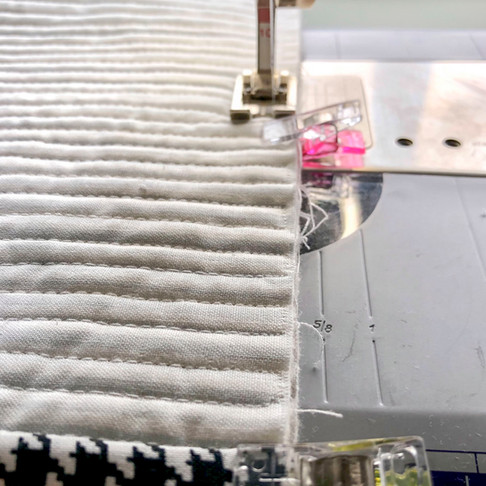
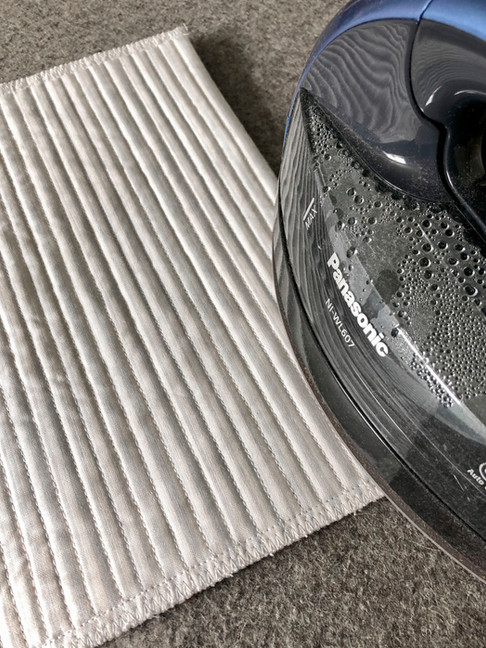
I pieced together several little odds and ends, until I had a panel about 10½” x 18½” (you can make these any size). I added a backing, and batting, and stitched my standard ¼” lines across the whole thing.


In a previous post, I shared my zipper technique for "How to do Zippers". I prepared my zipper the same way and stitched it to the two 10½” top edges, to join them together, making my quilted panel into a loop.

I decided to bind off the edges of the zipper to give it a fun finished look. I cut two strips 1½” x 10½” and pressed the long edge down ⅜”.


I stitched the raw edge down, on the inside of the bag/under side of the zipper along the edge, and wrapped it around to the other side of the zipper. Then, I topstitched it into place.

This wrapped the edge of the zipper and the raw edge of the quilted panel to finish it off nicely.


I clipped down the two sides and stitched ¼” from the edge backstitching at the top and bottom.

I folded the bound zipper edges down and stitched them into the side seams, backstitching well.

I was going to bind the two side seams the same way. I bound the zipper edges, but things got a little bulky so I opted for a tight zigzag stitch instead.


Press a good crease along the bottom fold. This will help keep things square when you pinch the corner and bring the side seam to that crease.

Pin the corner, where the side seam matches the bottom crease, about 2” from the outside point to the pin. You can make a shallower or deeper pinch depending on how wide you want the box base to be. This box base will be about 3½” across with a 2” pinch on each side

Use a small straight-edge ruler, and marking pin, to draw a temporary sewing line from edge to edge.

Stitch all the way across, backstitching well at both the stop and start.

Here it is with its “wings”.


Use a needle and thread to sew several hand-tacking stitches in the side seam and point of the flaps to hold them to the side seams. This way, they will stand up on the inside walls of the bag once it's turned right side out.

Turn it right side out and give it a good press. This will help crease the edges giving it a real boxy look.

I cut a narrow length of leather to use as a zipper pull.


And, here it is! A new box bottom zipper bag, ready for all my treasures :)
Happy Sunday everyone,
Krista
Follow all my quilty adventures on Instagram, Facebook, and Pinterest. Visit my YouTube channel for free tutorials and tips. If you like my patterns, you can buy them on Etsy, and here on the website.


